Lost Wax Casting Intensive

Tuesday, July 29, 2025; 10:00AM - 5:00PM PT (Pacific Time)
Wednesday, July 30, 2025; 10:00AM - 5:00PM PT (Pacific Time)
Thursday, July 31, 2025; 10:00AM - 5:00PM PT (Pacific Time)
Friday, August 1, 2025; 10:00AM - 5:00PM PT (Pacific Time)
Saturday, August 2, 2025; 10:00AM - 5:00PM PT (Pacific Time)
Monday, August 4, 2025; 10:00AM - 5:00PM PT (Pacific Time)
Tuesday, August 5, 2025; 10:00AM - 5:00PM PT (Pacific Time)
Wednesday, August 6, 2025; 10:00AM - 5:00PM PT (Pacific Time)
Thursday, August 7, 2025; 10:00AM - 5:00PM PT (Pacific Time)
Friday, August 8, 2025; 10:00AM - 5:00PM PT (Pacific Time)
This is a great opportunity to learn all you need to know to make jewelry using the lost wax casting process, from start to finish.
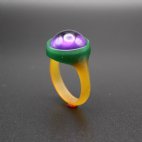
Join us for 10 days of lost wax casting to learn wax carving, vacuum-assisted and centrifugal casting, mold making, and how to add stone settings to your castings, including casting with stones in place.
The main focus of this class is to learn how to make good wax models, and for students to get practice with the casting and mold making process. Wax working is easy to set up in a home studio, and casting can be outsourced to a casting house. It also doesn’t take much room or equipment to set up a casting space in your studio or garage.
This workshop format gives students dedicated time to focus, building on the techniques demonstrated, and repeating basic skills until they feel more intuitive. Students will also sprue, invest and cast their own work during the workshop.
This course is available as an in-person workshop or live online class. Please check this page for times and formats available.
Online students join the workshop from their studio live via zoom. Although they won’t be able to join the in person students in casting practice, they learn all of the same information and send in their models for casting. They can ask questions, show their work and get help in real time. Each day of class is recorded and all students have access to the recordings after class.
Check out our free videos on how to set up to make wax models at home, at a table or a bench. Follow the link and scroll down to find the videos titled Easy setup for making Wax Models at Home for Lost Wax Casting and Tips on How to Setup a Wax Carving Bench and Studio at Home.
Why learn lost wax casting?
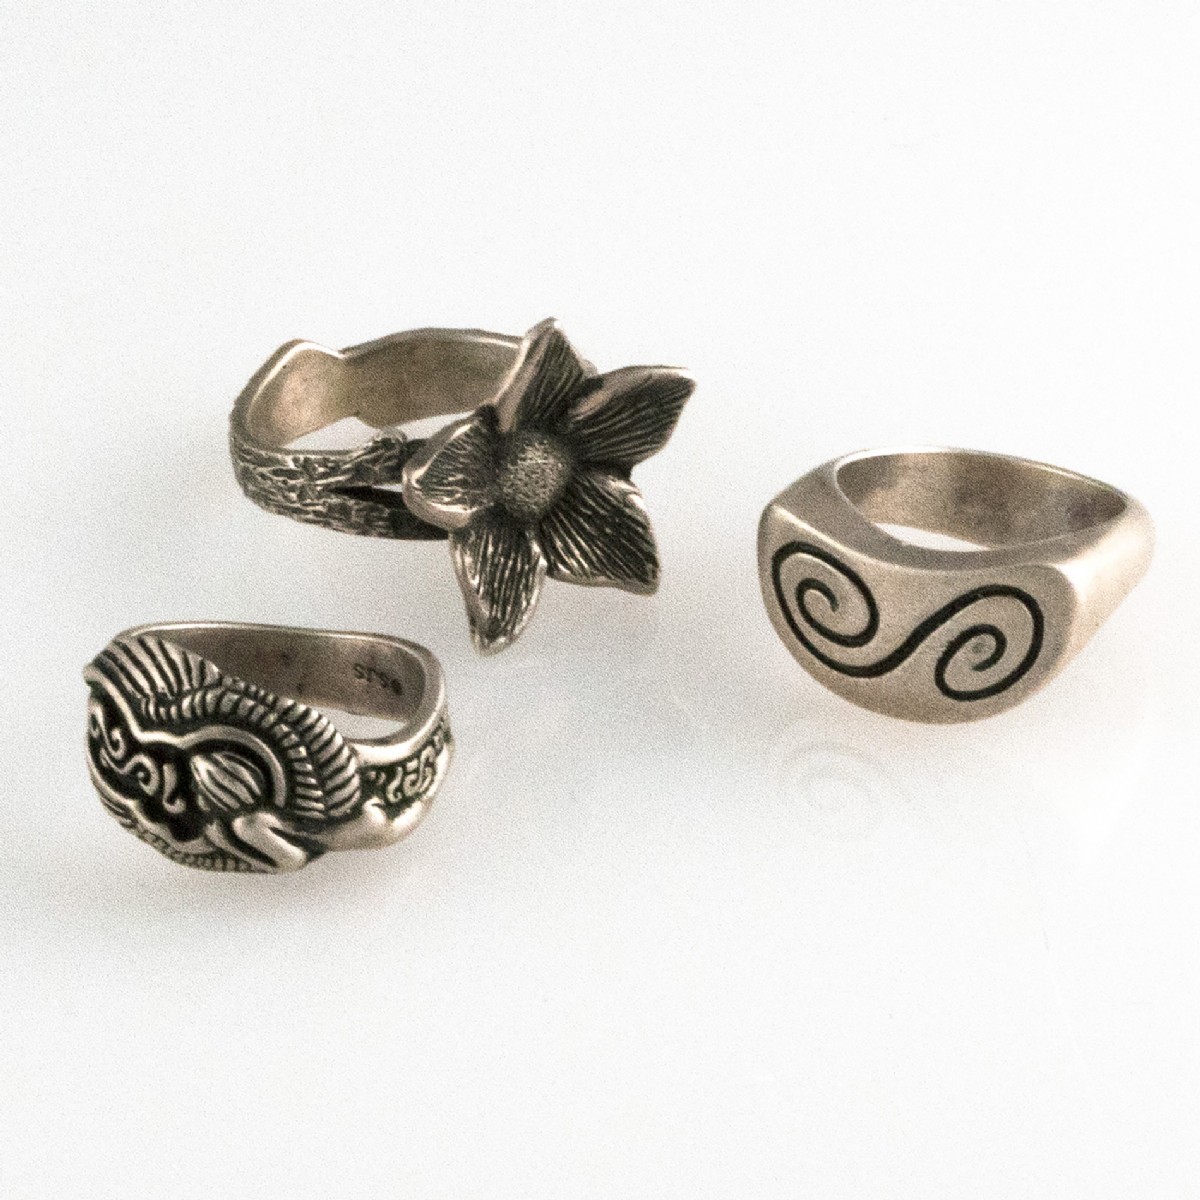
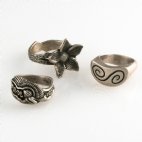
Lost wax is a popular approach to making jewelry. Its a dominant technique in commercial and fine jewelry that allows manufacturers to rapidly reproduce designs. But it's fantastic for jewelry artists, too, allowing them to be sculptural. You can set stones in mermaid’s hair, wrap octopus tentacles around a finger for a ring, and bring your imagination to life in wax and metal.
With lost wax, the great thing is that you can make your model once and then mold it to create hundreds of copies. You can also send your work to casters who will mold and reproduce your work, delivering finished pieces that have been polished for you.
This is a great technique for making your own, custom designs for a jewelry line to set your work apart - and have someone else do all the casting and polishing! You can also make molds of your own parts to cast and use with fabrication techniques, like casting ring shanks to add to settings, etc. It’s a great way to leverage your time and speed up production.
We’ll be learning traditional lost wax techniques, but we’ll also discuss CAD and 3D printing options. A good pairing with this class is our Digital 3D Modeling CAD course, which teaches the basics of rendering models with a computer. However, whether you make your model by hand or with a computer, they all end up in the same casting process.
The Basics
First we start with the basics of carving and modeling, as students carve a ring and build up a pendant. We’ll teach you how to use an electric wax pen, modify your wax picks, carve, file, saw, polish wax models and prepare them for casting. Then we practice the casting process, with both vacuum assisted and centrifugal casting machines.
How to sprue, invest and cast your work, set up a small casting studio, and polishing your finished castings will also be covered during this retreat, as well as how to outsource reproduction of your models to casters.
Watch our video about the lost wax casting process. It shows centrifugal casting. In class you’ll also learn how to pour metal with a simpler vacuum casting machine.
Mold Making
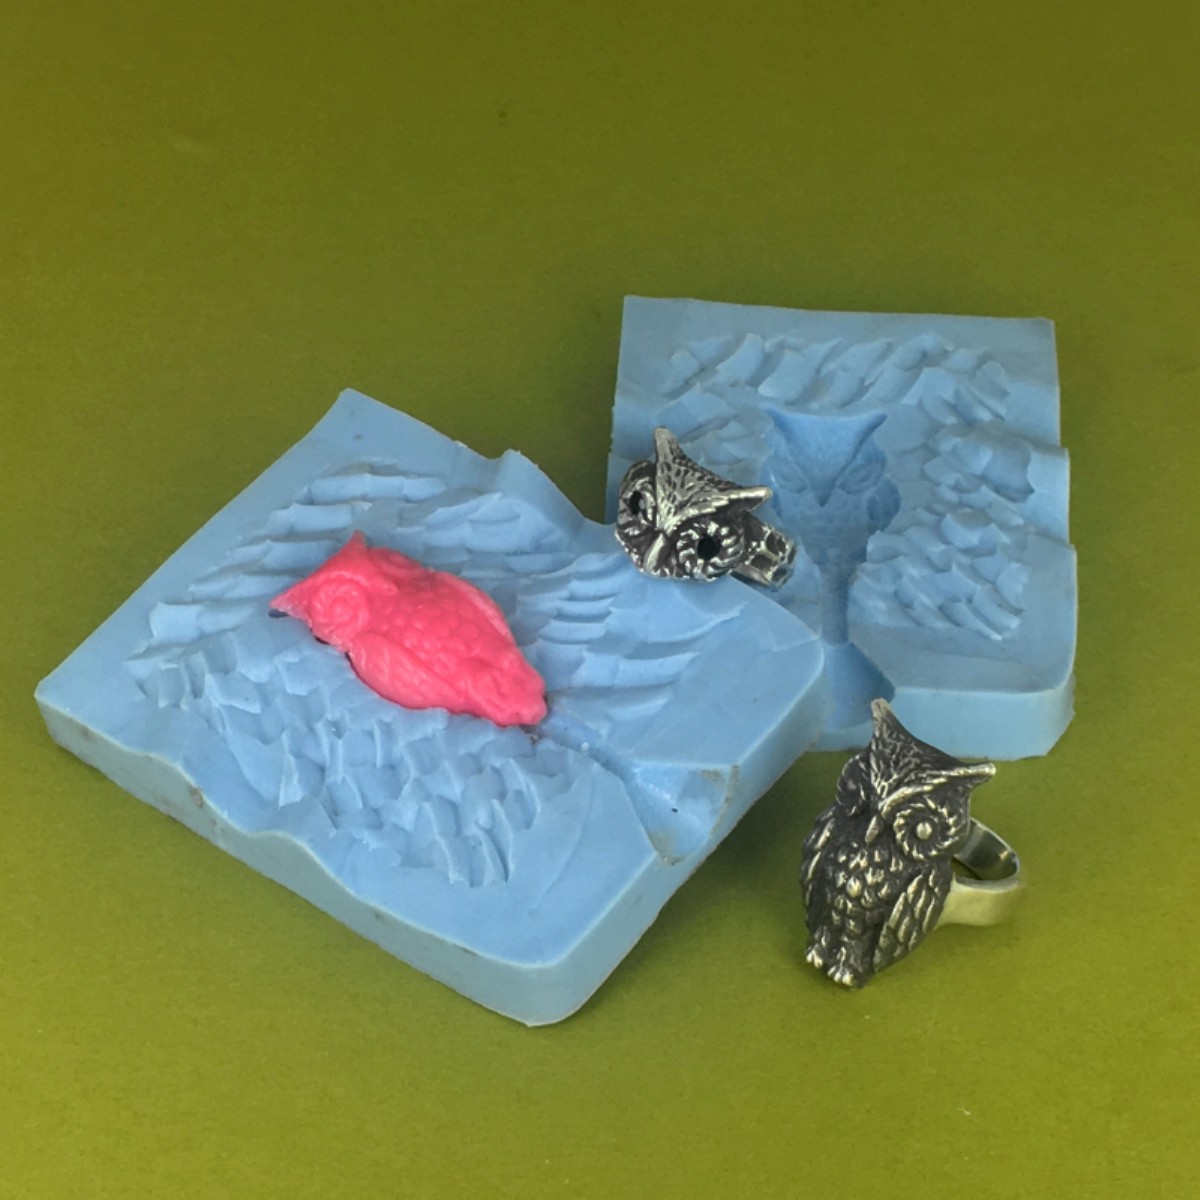
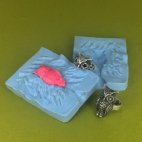
Next students will learn how to mold models for reproduction, and how to use molds to speed up the wax model making process. Mold found objects, like hardware, jewelry, and toys, to kick off a new design. Silicone and vulcanized rubber molds of your cast metal models allow you to make quick reproductions, or use past work as a jumping off point for new designs. We'll also explore using RTV silicone to mold hybrids of wax and uncastable materials to create castable wax models.
Found Objects
Imagine casting found objects, leaves, twigs, flowers, seeds or nuts into metal! Yes, you can. Combine materials that can be safely cast as part of your moldel making. Anything that can burnout efficiently can be used to make a wax model, including . All of the texture and detail of found objects can be cast into metal, and then molded for reproduction. Combine found objects with wax to add your own custom details.
Stone Setting in Wax Models
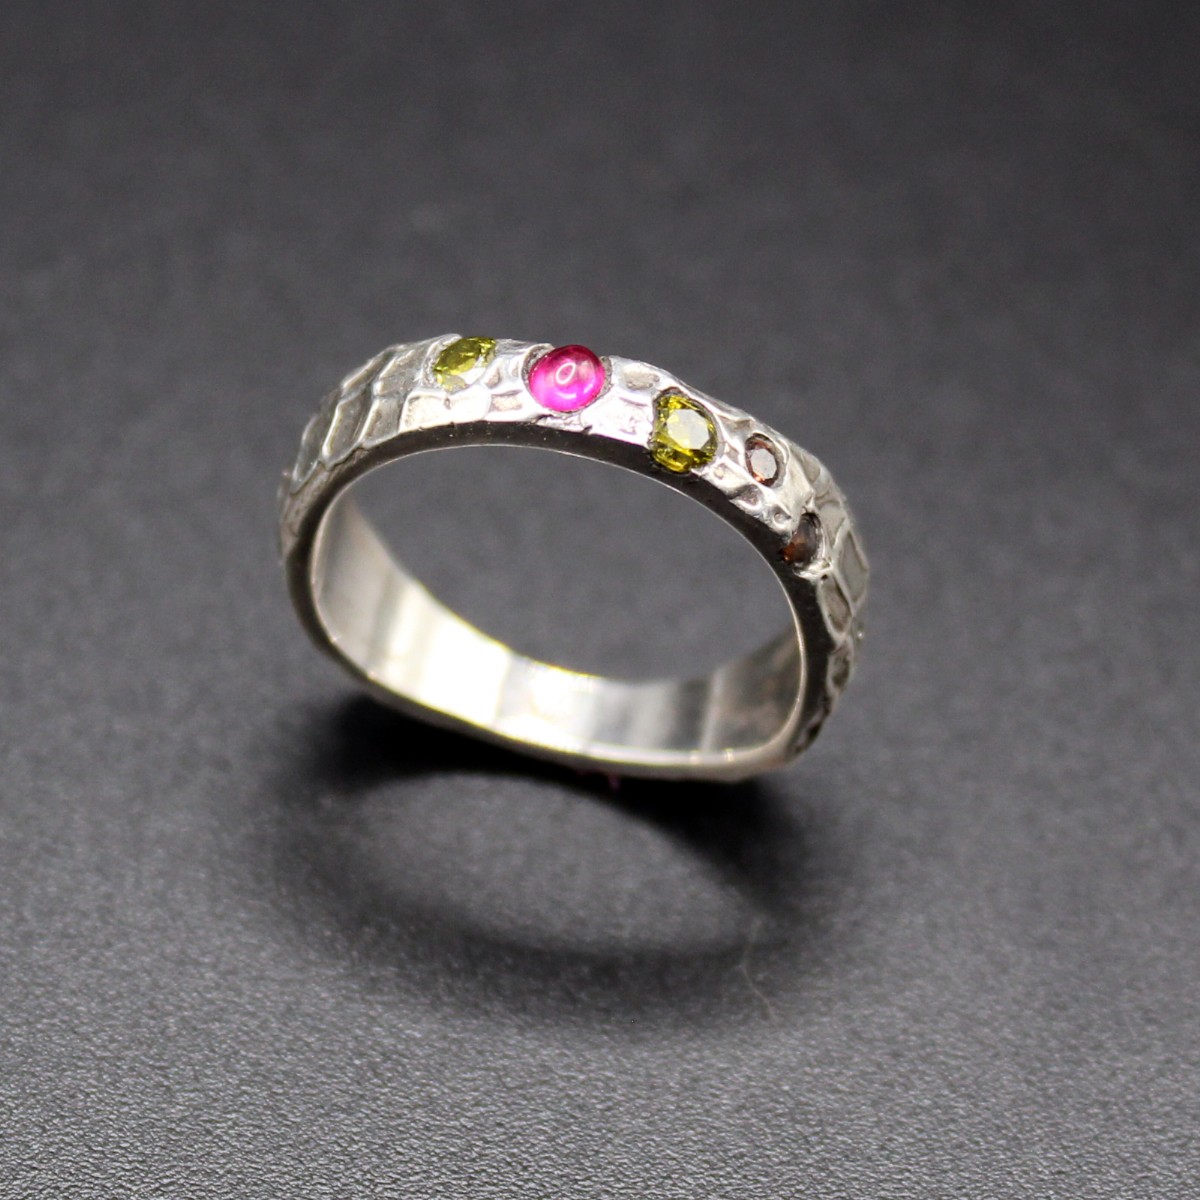
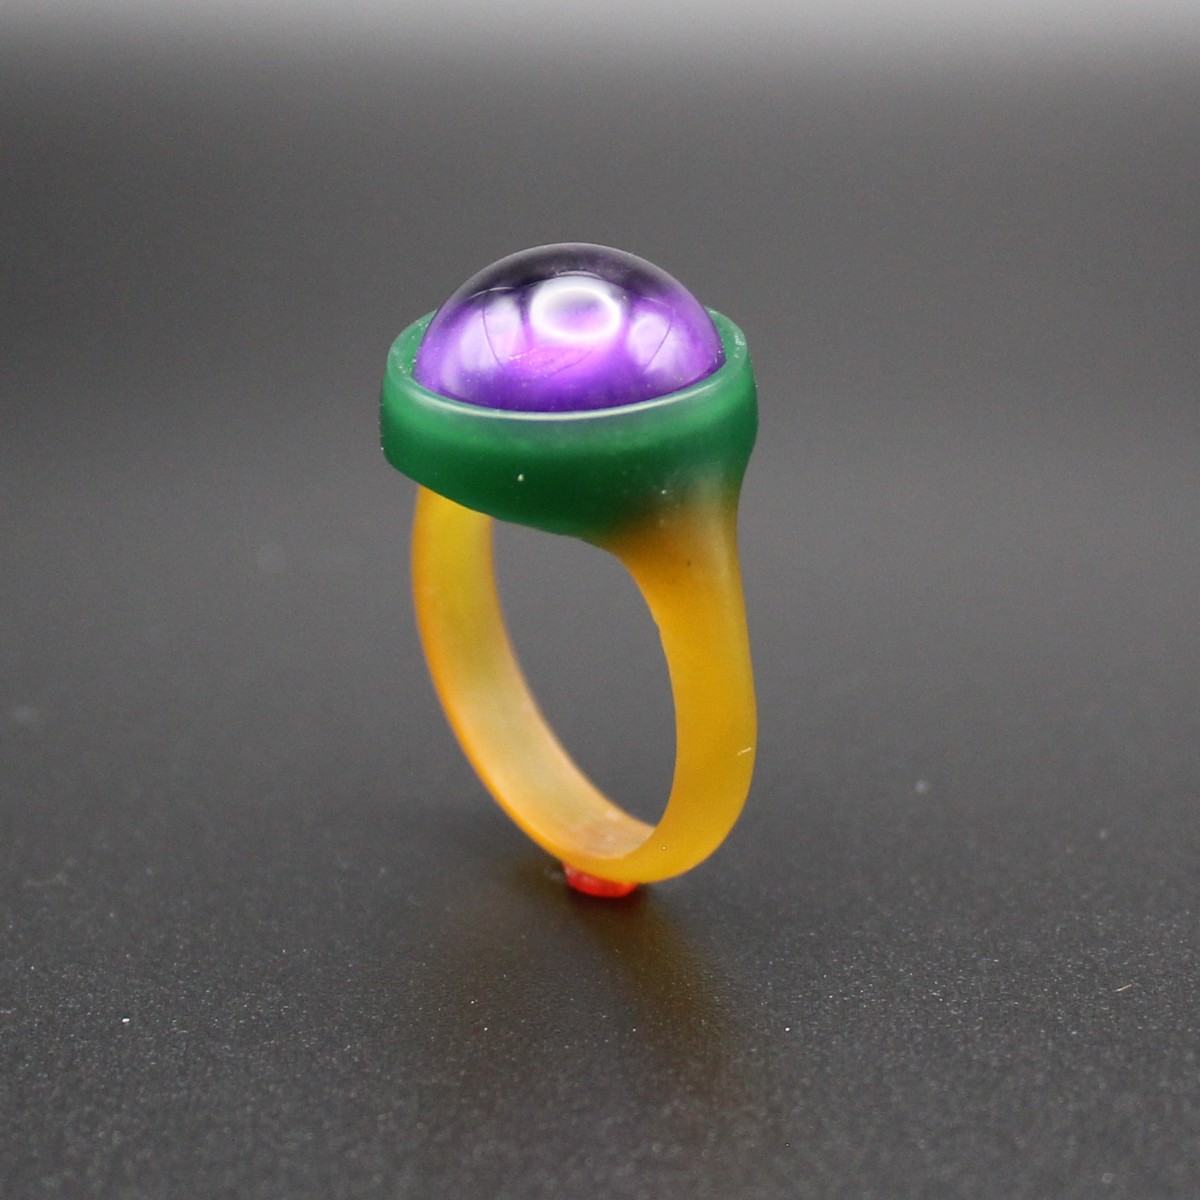
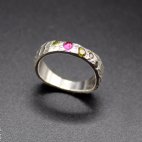
Finally, students will learn how to add stone settings to their castings. Wax can be formed to fit stones with unique shapes, like pearls, etc. Some stones can be set in the wax model and cast in place, surviving the burnout and casting stages to emerge embraced in metal. You can also set up models for easy setting after casting, using bezels, prongs and other setting techniques.
Settings in wax don't have to look like traditional metal settings. Prongs and bezels can be sculptural and subtle, like branches, flowers, tendrils of hair or other motifs. In addition to how to create settings in wax, more wax techniques will be taught, including how to use a flex shaft as a mini wax lathe to spin perfect rings and other round forms, like bezels.
Check out a free video preview of what we do in this class, "Setting a Royston Turquoise using Lost Wax Casting". Scroll through the free videos on this page to find this title.
Casting your models made during class is included.
The course is 11 days, and it is divided into 5 days of class, a 1 day break, and then 5 days of class.
Registration for this class closes 60 days before it starts. Be sure to sign up early and save your spot.
Techniques taught:
Basic of Lost Wax Casting
• Wax carving
• Wax modeling/build up
• Preparing models for casting with spruing and investing
• Setting up a burnout
• Casting with a vacuum casting machine and centrifugal casting machine
• Removing sprues and polishing models after casting
• Outsourcing your casting to casting houses
• Discuss CAD and 3D printed techniques
Mold Making and Found Objects
• Using molds to reproduce designs and as part of the model making process
• Vulcanized rubber molds
• RTV 2 part silicone molds
• 2 part siliconeputty molds
• Alternative mold methods for mixing materials to create wax models
• Cutting open molds
• Troubleshooting molds
• Using wax injectors
• Cleaning up waxes injected from molds
• Choosing and casting found objects, like sticks, leaves, seeds and nuts
Adding Stone Settings to your Models
• Adapting settings to the lost wax technique and adjusting for shrinkage
• Milling settings
• Using a flex shaft machine as a wax lathe to create models and settings
• Modeling wax with wax pens and dipping to create custom seats for stones
• Adjusting and setting stones after casting
• Casting with stones in place in the models. The stones will stay in the models to go through burnout and casting.
A kit of materials for in person and online students is included with this class.
A full color handout is included with the class.
Create your own workbook with the beautiful handout that is downloadable for this workshop. Handouts include instructions for techniques and projects, reference charts and lots of information to support your learning.
Tools for Online Students
This is a list of tools online students need to practice the techniques shown in class. (in-person students have tools to use at school). Feel free to contact us with any questions.
A list of tools with links to recommended suppliers for the best prices will be sent to you after registration If you have questions about the tool list, please contact us.
*Abrasive ax tools (like files, sandpaper, etc.) must be new or never used with metal or they can contaminate your wax models.
*Set of key files (small)
*Set of 6 needle files Swiss cut 2
Super Max wax pen or similar
Ring mandrel
Dividers
Jewelers saw frame
Bench pin with clamp
Metric steel ruler (6”)
Steel square 2”
Plastic finger gauges
Degree gauge
File cleaner
Safety glasses
Dust pan and brush
Toothbrush
Clear packing tape (with or without dispenser)
* Nail boards (320 and 600 grit)
A computer, phone or tablet to use the free Zoom app for class
Electric scale (can be a cooking scale, must weigh in grams, and be able to weigh over 100 grams, for mold materials)
RTV Silicone Mold Rubber
Castaldo U Shape Mold frame for RTV Compounds - ¾, or 1” depth, Injection wax (Freemans Red or Filigree Pink or other that you prefer) - 1 lb
Xacto #1 knife and spare #11 blades
Steel spoon or mini ladle to pour small amounts of wax
Wooden popsicle sticks for stirring wax and mixing molds
Gloves - latex, nitrile or vinyl, in your size
Assorted sizes of disposable plastic containers, like leftover food containers from yogurt
White vinegar,
DIY wax melting set up or wax melter, like an Inexpensive hot plate and 12 oz steel mug or similar to contain the wax on the hot plate.
Wolf pick - #10 Medium 90° or equivalent
Wolf pick - #3 knife or equivalent
Alcohol lamp or a butane torch or butane micro flame burner
Cross locking or similar tweezers 6” long
Flexible shaft machine with #30 handpiece (a Dremel may be too awkward to use and usually won’t fit the mandrel for turning the wax)
Hanger for the flex shaft, if needed
Lubricant for wax
If a class is online, or is a combination online and in-person session, all students receive a link to a recording of the class demonstrations. In-person only workshops are not recorded. For staff instructor classes, students have access to the recordings for one year. For guest instructors, access is 30 days.
If a kit is included with the class, online students will have them mailed to them. Kits for in-person students are delivered at the beginning of the first class. More information about the kit is included with the supplies list which is emailed after registration.
International students may be charged an additional amount for shipping, because of the increased cost to ship abroad. Also, shipments to other countries may incur a tariff payable by the student. International students are welcome to contact us re: these costs and options for their materials. Please be sure that the address with your payment is the correct one for shipping.
If this class is offered online, it uses the Zoom app/website. Through Zoom, you’ll be able to see demos and follow instructions, ask questions and interact with your instructor. Zoom is easy to use and free for students to use for class, and works on most devices, like phones (iPhone, Android, etc), tablets (iPads, etc), and computers (Mac or PC).
Your instructor is also available during free Zoom office hours for questions and help.
For classes that include work time, online students work at home or in their studio. All of our recommended tools and the kit materials are chosen to be home studio friendly. Links to preferred vendors are provided in the supplies list sent after registration. Some classes, like our short demo only classes, don't require tools or materials to attend.
And now the fine print. Payment in full for class fees is due at the time of registration to reserve your place. We accept Visa, MasterCard, American Express, Discover, and PayPal. Checks and cash are accepted only if you register at school. If you mail a check, your registration is not processed until it clears and the class may fill during the wait.
If the workshop is canceled by our school for any reason, all class fees will be refunded, or you can transfer to another class, or you can keep a credit on account with us for future classes or purchases,
Students can cancel, receive a credit or refund, or transfer to another class up to 21 days before a workshop, whether it is online or in person. No cancellations are accepted after the 21-day deadline, however, we will do what we can to try and sell your place to a qualified student. If we can sell your place, you can receive a refund less a $50 cancellation fee, keep a credit on account with us, or apply your fees towards a transfer to another class.
If you can’t make it to class, you may send a participant who has the necessary prerequisites in your place. Please call or email us immediately with any changes in the student participant information. If a class includes an online section, your class will be recorded and you can watch later to make up a class you miss.
Students must be at least 15 years old to attend a class, and students under 18 must have a legal guardian sign our liability waiver form. We have had younger students attend classes, on a case by case basis. If you’re interested in enrolling your child, please call or email us.
If you sign up for a class and fail to have the required prerequisites as listed in the class description, you are still subject to the 21-day cancellation policy, listed above.
Lodging and meals are not included for in person classes.
If you don't come to class, there are no refunds, credits or transfers.

